
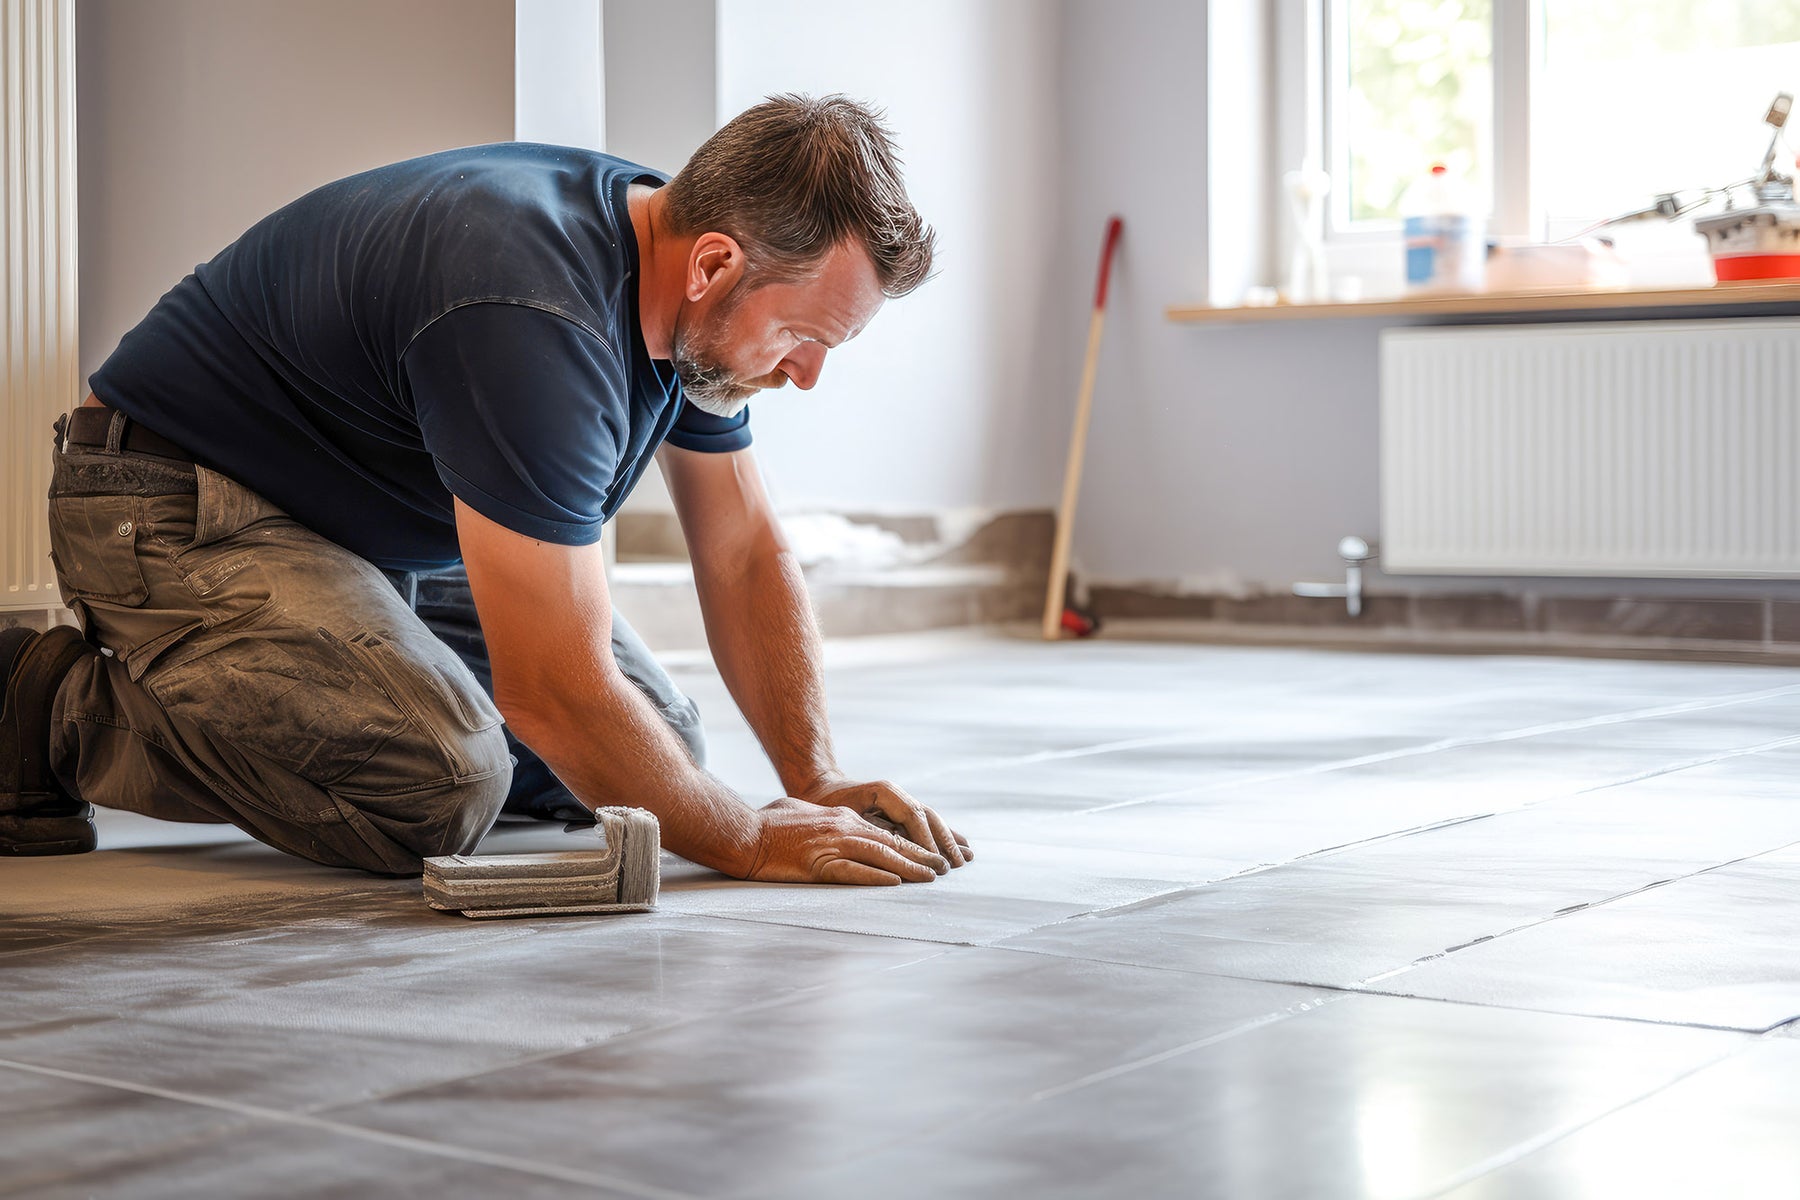
How to independently fill gaps under tiles and protect them from future damage?
Do you feel hollow spots under your ceramic tiles and are wondering how to deal with them?
These cavities not only annoy with a characteristic sound when walking on your floor, but can also lead to further damage and structural problems. In our article, we will show you how to effectively solve this problem, preserving the aesthetics and durability of your tiles.
Finding the right tools and materials is the first step to success. Thanks to our tips, you will learn how to prepare the surface for repair and how to choose the ideal repair mortar that will meet your needs.
Causes of cavities under ceramic tiles
Damage to the substrate on which ceramic tiles are laid can be caused by many factors.
Improper surface preparation before tile installation is one of the main reasons. This may include unevenness, poor quality adhesive, or inadequate insulation. Additionally, changes in temperature and humidity can cause materials to expand and contract, which in turn leads to cracks and cavities.
Another important factor is exploitation. Heavy objects dropped on tiles, excessive load, or even ordinary walking can contribute to the formation of microcracks. Over time, these minor damages can lead to the tiles detaching from the substrate. It is therefore worth regularly checking the condition of the grout and the tile surface itself to detect any problems in time.
In the case of old structures, the problem may lie in material wear. Over the years, adhesives and mortars can lose their properties, resulting in weakened tile adhesion. Additionally, leaks in water installations can lead to water seepage and thus to substrate degradation. Regular technical inspections of installations can prevent such situations. The list of causes of cavities under tiles should include points regarding quality of workmanship, exploitation, and the age and technical condition of the materials.
Tools and materials needed to repair cavities
When repairing cavities under tiles, it is crucial to prepare the right tools and materials to enable effective and durable renovation. The basic set that every DIY enthusiast should have includes: a mortar bucket, mortar mixer, applicator, vacuum cleaner, and protective work gloves. Specialist materials will also be necessary, such as: repair mortar, primer, and in the case of deeper cavities – reinforcing mesh or fiberglass, which will provide additional reinforcement to the repaired area.
From our side, we recommend Soprodur 900 – an injectable microcement for quick repairs of detached cladding and filling under tiles. The product has won the gratitude of a wide range of our customers, thanks to its reliability and simple use.
Preparing the work area is another important step. The surface under the tiles must be thoroughly cleaned of dust, dirt, and loose elements, which will ensure better adhesion and extend the life of the repair. The list of materials should also include appropriate cleaning and degreasing agents, as well as painter's tape to secure the edges of the tiles. Depending on the type and size of the cavity, it is worth stocking up on various types of mortars – from quick-drying to flexible ones, which will work better in areas exposed to movement or temperature changes.
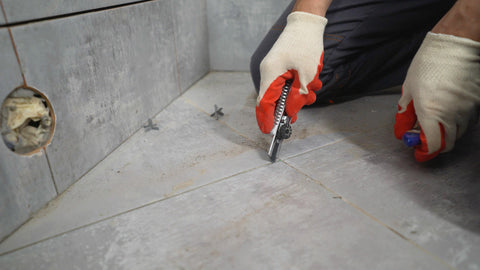
Step-by-step: Instructions for filling cavities under tiles
Filling cavities under ceramic tiles is crucial for maintaining their durability and aesthetics. Before we start work, let's make sure we have the right tools and materials. The most important of these include: repair mortar, applicator (e.g., syringe), mortar container, mixer, water, sponge, as well as grout and a spatula for closing the cut grout. Remember to thoroughly clean the damaged area of any dirt and loose fragments before starting the repair.
The repair process begins with preparing the repair mortar Soprodur 900 according to the manufacturer's instructions. Then, using an applicator, we fill the cavity, making sure that the mass is evenly distributed. It is important that the mortar penetrates every crevice, which will ensure the stability of the tile and protect against re-detachment. After applying the mortar, you should:
- Remove excess mortar with a damp sponge before it dries completely.
- Wait the time recommended by the manufacturer for the mortar to set properly.
After completing the repair work, it is necessary to thoroughly dry the repaired area before reusing the surface. It is recommended to avoid loading the repaired area for the period indicated by the mortar manufacturer. This ensures that the repair will be durable and no further damage will occur. Regular inspections of the condition of the tiles and preventive actions can significantly extend the life of our floor.
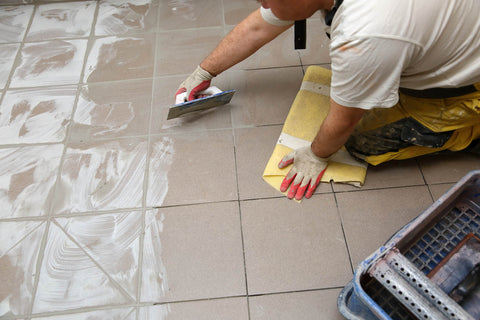
Choosing the right tile repair mortar
The selection of the appropriate repair mortar is crucial for the durability and aesthetics of the renovations carried out. The specific nature of the defect determines whether we should use cement, epoxy, or acrylic mortar. Each of these types has unique properties that work well in different operating conditions. For example, epoxy mortars are recommended for areas exposed to chemicals, while cement mortars are excellent in wet conditions and are abrasion-resistant.
When choosing a repair mortar, attention should be paid to material compatibility with existing tiles. An improperly selected mixture can lead to differences in color, texture, or even subsequent detachment of the repaired fragment. Therefore, it is recommended to carefully familiarize yourself with the product characteristics and test it on a small, less visible area before proceeding with the main repair work.
In summary, choosing the right repair mortar is essential for achieving satisfactory results. It is recommended to consult specialists or thoroughly study the technical specifications of available products. Remember that investing in quality materials is a guarantee of a long-lasting effect that will please the eye for many years.
Tips for proper surface preparation
For tile repair to be durable and effective, careful surface preparation is necessary. Here are some key steps to take before filling cavities:
- Clean the surface – remove any contaminants, such as dust, dirt, or grease, which can weaken the adhesion of the mortar.
- Remove loose fragments – any non-adhering pieces of tiles or mortar must be removed for the new mortar to adhere well.
- Moisten the surface – lightly moistening the substrate before applying the mortar will improve its adhesion and prevent it from drying too quickly.
- Apply a priming bonding agent – for very smooth or absorbent surfaces, it is recommended to use a priming agent that will increase the adhesion of the mortar.
- Choose the appropriate mortar – the mortar should be adapted to the type and location of the tiles (e.g., different mortars are used indoors and outdoors).
Methods for protecting the repaired area from moisture
Protecting the repaired area under the tiles from moisture is crucial for ensuring the longevity of the work performed and protecting the building structure. Impregnation is one of the most important steps in this process. After completing the repair work and the mortar has dried properly, an impregnating agent should be applied to create a protective barrier against water penetration. The choice of the appropriate impregnant should be adapted to the type of tiles and the specific location – different preparations are recommended for damp rooms, such as bathrooms, and others for areas exposed to water from outside.
In the process of protecting the repaired area, the stage of grout finishing cannot be omitted. This is especially important in places where the grout is exposed to constant contact with water. Special grout preparations are available on the market that increase their resistance to moisture, mold, and fungi. Below is a list of actions that will help in proper protection of the repaired area:
- Choosing the right impregnant for the type of tiles and conditions
- Thorough cleaning of the repaired area before applying the impregnant
- Applying the impregnant according to the manufacturer's recommendations
- Regularly checking the condition of the grout and its eventual renovation
- Using grout-enhancing preparations to increase their resistance
Remembering these steps will significantly contribute to increasing the lifespan of the repaired area and the entire tiled surface.
Common mistakes when filling cavities and how to avoid them
When repairing cavities under ceramic tiles, it is easy to make mistakes that can result in further damage or an unaesthetic appearance. Improper surface preparation is one of the most common problems. To prevent the new mortar from detaching, the surface must be clean, dry, and free of loose elements. It is also important to prime the substrate, which increases the adhesion of the mortar.
Another mistake is using the wrong type of mortar. Choosing the right product is crucial for the durability of the repair. Flexible mortars are recommended for floors with underfloor heating or surfaces exposed to temperature changes. For large format tiles, mortars with increased adhesion will work better. Below are some points to pay attention to:
- The mortar should be suitable for the type of tiles and substrate.
- When choosing a mortar, follow the manufacturer's recommendations.
- Consider the operating conditions of the surface (e.g., humidity, temperature).
An error in the mixing proportions of the mortar can lead to weakening of its properties. Mortar that is too thin will not provide adequate adhesion, and mortar that is too thick can make application and leveling difficult. Precise adherence to the manufacturer's instructions is essential here. Moreover, it is important not to interrupt work at the stage of mortar application, which could lead to unevenness and weak points in the structure of the repaired surface.
FAQ
1. Can I repair cavities under tiles myself?
Yes, you can repair cavities under tiles yourself, provided you have the right tools and materials and follow the instructions. However, for larger damages or lack of experience, it is worth considering using the services of a professional.
2. How long do I have to wait after the repair before I can use the surface again?
The time you have to wait after repairing cavities depends on the type of repair mortar used. Usually, it is from a few to several hours. Precise information should be provided on the product packaging.
3. Are there special mortars for repairing cavities in damp rooms, such as bathrooms?
Yes, there are special repair mortars designed for use in rooms with increased humidity. They are resistant to water and moisture, which ensures the durability of the repair.
4. Will the repaired areas be visible after filling the cavities?
If the repair is done carefully, the repaired areas should be practically invisible.
5. Can I use silicone to fill cavities under tiles?
Silicone is not recommended for filling cavities under tiles because it does not have adequate adhesion and mechanical strength. It is better to use a dedicated repair mortar.